
gallNASPi
Install the operating system
Using Raspberry Pi Imager to install operating system on microSD
RASPBERRY PI OS LITE(64-BIT)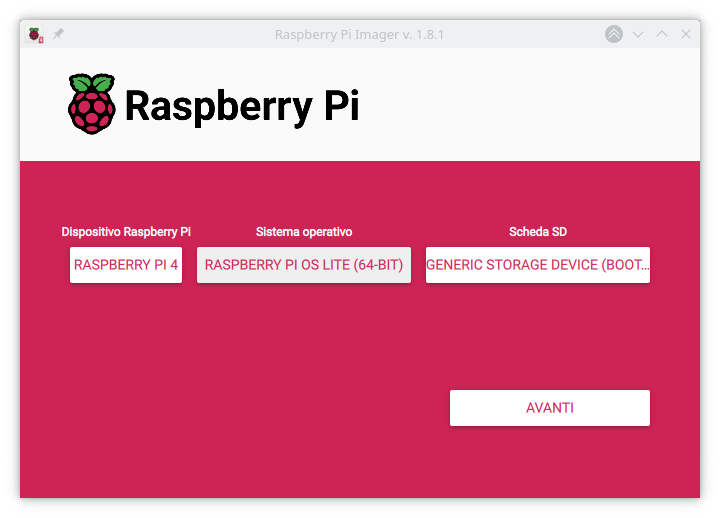
You can use customizations of the OS for host, user and password, WiFi and locales.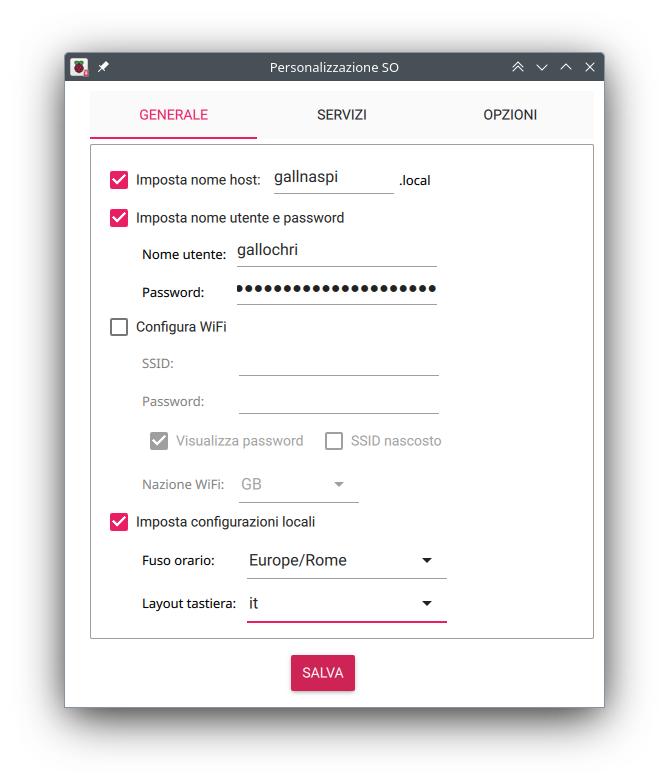
Enable SSH from Service menù
Boot from microSD
With graphical interface from HDMI0
Power up system, Menù (top left)-> Accessories -> SD Card Copier
Copy From Device -> microSD
Copy To Device -> SSD
From command line
Power up system, open a shell with ssh.
TEMPORARY FIX WARNING
Replace https://github.com/billw2/rpi-clone.git with https://github.com/framps/rpi-clone until this issue is solved.
Installing and using rpi-clone.
sudo apt install git
git clone https://github.com/billw2/rpi-clone.git
cd rpi-clone
sudo cp rpi-clone rpi-clone-setup /usr/local/sbin
Verify names of connected disks
lsblk
NAME        MAJ:MIN RM   SIZE RO TYPE MOUNTPOINTS
sda           8:0    0 232.9G  0 disk
mmcblk0     179:0    0  29.7G  0 disk
├─mmcblk0p1 179:1    0   512M  0 part /boot/firmware
└─mmcblk0p2 179:2    0  29.2G  0 part /
Creating the copy
sudo rpi-clone sda
Booted disk: mmcblk0 31.9GB                Destination disk: sda 250.1GB
---------------------------------------------------------------------------
Part               Size    FS     Label           Part   Size  FS  Label
1 /boot/firmware   512.0M  fat32  --
2 root              29.2G  ext4   rootfs
---------------------------------------------------------------------------
== Initialize: IMAGE partition table - partition number mismatch: 2 -> 0 ==
1 /boot/firmware      (60.5M used)   : MKFS  SYNC to sda1
2 root                (1.8G used)    : RESIZE  MKFS  SYNC to sda2
---------------------------------------------------------------------------
Run setup script       : no.
Verbose mode           : no.
-----------------------:
** WARNING **          : All destination disk sda data will be overwritten!
-----------------------:

Initialize and clone to the destination disk sda?  (yes/no): yes
[...]
Cloned partitions are mounted on /mnt/clone for inspection or customizing.

Hit Enter when ready to unmount the /dev/sda partitions ...
Hit Enter and testing the write speed on microSD
dd if=/dev/zero of=/tmp/speedtest.img bs=20M count=5 oflag=direct
5+0 records in
5+0 records out
104857600 bytes (105 MB, 100 MiB) copied, 2.9603 s, 35.4 MB/s
Power off system
sudo init 0
Once turned off, pull the microSD out of the slot and boot up again.
Testing the write speed on SSD
$ dd if=/dev/zero of=/tmp/speedtest.img bs=20M count=5 oflag=direct
5+0 records in
5+0 records out
104857600 bytes (105 MB, 100 MiB) copied, 0.40938 s, 256 MB/s
256 MB/s vs 35.4 MB/s, 7 times faster.
Update system and reboot
sudo apt update && sudo apt upgrade
sudo reboot
Install power Off button and PWM fan
Following Geekworm’s wiki
sudo apt-get -y install i2c-tools python3-smbus python3-rpi.gpio pigpio python3-pigpio git
git clone https://github.com/geekworm-com/x-c1.git
cd x-c1
sudo chmod +x *.sh
sudo bash install.sh
echo "alias xoff='sudo /usr/local/bin/x-c1-softsd.sh'" >> ~/.bashrc
sudo reboot
That’s all for now, in the next episode the automatic mounting of an external HD with systemd